Novel Journeys
It’s been a little quiet lately, and for good reason: a new job in a new state. It’s been a bit hectic, but things are settled and I’m getting back to my personal projects.
I did get my first MongoDB and AngularJS app working before the chaos. I didn’t get much written down and my mini cluster has not been brought back to life from the move. I’ll have to decide whether to revive it or to just move on.
In the meantime, something a bit more mundane. I was getting a lot of lost packets at home, and I needed to figure out what was causing it. In the past I’ve just used Smokeping to give me a baseline for the network. I really didn’t feel like fussing with configurations and permissions. It is 2015 is it not? Surely I can just add a couple of IP’s into some kind of app and have it do everything for me.
I dusted off one of my machines from the cluster, installed CentOS 7 on it, and proceeded to install Zabbix. Zabbix has gotten a bit better; I only had to make one SELinux policy change to get it up and going. The navigation is still horrible though. After it took me way longer than it should, I plugged in a couple of IP’s and had some monitoring going. The only problem was that the values where getting rounded off. After the navigation frustration, I was starting to wonder if there was something easier. I looked for Docker container for Smokeping and sure enough, one existed.
Next, I looked for a UI for docker since my last few 10 minute forays into it didn’t bear a lot of fruit. I chose Cockpit, but I wasted a bit of time trying the CentOS version of Atomic Host. In my naiveness, I would say that it is not ready for playing with, or at the very least it does not have cockpit baked in. I installed the Fedora version of Atmoic Host, and I finally had something to work with.
1
| |
In the end though, I rarely used the interface, and this was all a lot easier without all of the side trips.
- Install a minimal version of CentOS 7.
- Install and start up libvirtd
1 2 3 | |
- Download the Fedora Atmoic host image to your /var/lib/libvirt/images/
Install the image. I used this guide.
You’ll need a
yum install genisoimagefor the authorizaion iso image. I also did install the extra storage for my instance, but I don’t know if it was strictly necessary. It was a little confusing but ROOT_SIZE is not for your docker storage, so you shouldn’t need to touch that.SSH to your atomic host
Install the docker container
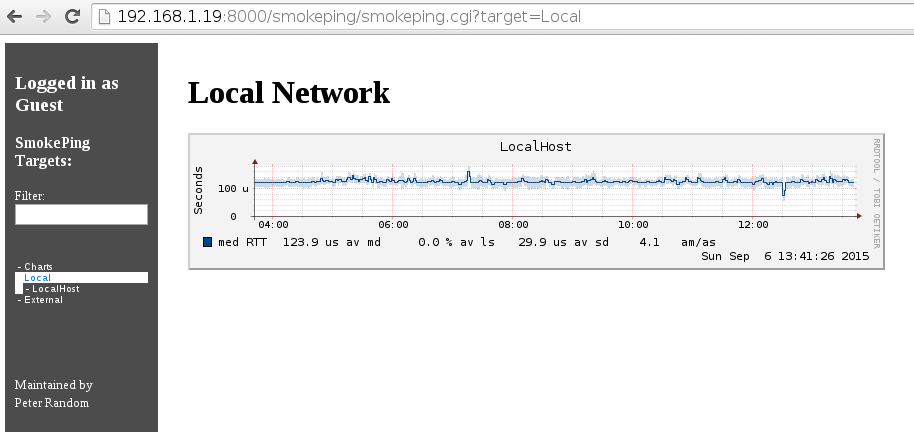
$ sudo docker run --name smokeping -p 8000:80 -d dperson/smokepingAdd the IP’s that you want to monitor.
$ sudo docker exec smokeping smokeping.sh -t "<Group>;<Name>;<Hostname or IP>"An example:
  $ sudo docker exec smokeping smokeping.sh -t "Local;LocalHost;localhost"

  $ sudo docker exec smokeping smokeping.sh -t "External;Level3_DNS;4.2.2.1"
Do not put spaces in the name section. I did this the first time, and then I tried fixing it using the “docker cp” command, but apperently this version of docker doesn’t allow cp back into the container. In the end I wiped my config with a “docker exec smokeping smokeping.sh -w” and just used under scores.
Restart the container.
$ sudo docker restart smokepingEnjoy.
In the end it’s pretty simple once you have a docker host going as long as you avoided the side trips. Run a few commands, to configure your app, and off you go.